Showing posts with label holiday. Show all posts

Friday, February 10, 2012

tutorial: make your own valentine's day candy!

I love certain holidays. I love Valentine's Day possibly because I love the color red and I think hearts are adorable. An excuse to make cute stuff that's red with hearts on it? I'm in!

For a few years when I was in college, my circle of artsy/crafty friends would have outdoor craft sales a few times a year. One of my favorite traditions is that we'd have one just before Valentine's Day. And I would always make these chocolate hearts to sell. This year I made them to take to a Valentine's Day party that my friends Jessica and Chris are hosting tomorrow. I'm really excited for it! We have been instructed to wear red and pink, and I think I've come up with the perfect outfit. I'll be sure to post pictures.

This candy is delicious, easy, adorable, and at least as affordable as buying a big bag of already-made Valentine's Day candy. I already had most of the supplies I needed, but even if you don't, there's not too much to wrangle up.

- heart molds--I use silicone ice cube trays! You could also buy real candy molds.
- chocolate--I use Ghiradelli chocolate chips. Whatever you do, no almond bark!
- add-ins--I made a batch with espresso beans and a batch with graham cracker pieces. You could stir in anything small.
- tiny bags--I bought mine at a craft store in the jewelry making area.
- colorful cardstock
- stapler

Step 1: Melt your chocolate. If you are using big pieces, chop it up. Melt the chocolate in the microwave in 25 second intervals, stirring in between. Be careful not to overheat/burn it! You could also use a double boiler, if you lack a microwave or want to feel more like a real candy maker.

Step 2: It might be time to stir in your add-ins. It depends on what they are. For my graham cracker pieces batch, I stirred in the graham crackers at this point. For my espresso beans batch, I placed 2 espresso beans in each heart by hand. Use your judgement here.

Step 3: Time to use the molds. I bought these cute ice cube trays several years ago, allured by the idea of making heart-shaped ice. The ice cubes it makes are actually way too small, though--as in, you need to use almost a whole tray for one drink! I kept them around and eventually had the idea to make candy in them! You can always get real candy molds if you can't find any heart-shaped ice cube trays (though I think those are fairly common).

Step 4: Here you see how I dropped two espresso beans into each chocolate. I then pushed them down with my finger so that chocolate would cover them. You also want to shake the trays from side to side to make the chocolate fall down into place and eliminate air bubbles. You don't have to fill each heart completely, depending on how big your tray is. Mine makes a piece of chocolate that just feels slightly too big if I fill it all the way.

Step 5: After pouring the chocolate, I let it cool in the freezer. Otherwise, it takes a long time to become solid (a reason why people use almond bark...but don't do it! just read the ingredients...it's not real chocolate and it doesn't taste like real chocolate).

Step 6: Once my chocolates were cool, I immediately put them in my tiny plastic baggies. I left the baggies unzipped until the chocolates reached room temperature, to avoid condensation on the insides of the bags.

Step 7: I then got to work designing some labels. I did a very simple design using MS Word. It included a dingbat heart shape from the font Webdings, Happy Valentine's Day in a script font I downloaded awhile ago, and a description of the candy (very important warning in this case for those who don't like coffee! eep!). I printed them out on red cardstock, cut them out, folded them in half...

Step 8: ...and stapled them in place. Adorable! Now wasn't that easy?

Now I need to decide if I will make these for all of my students, or buy them pre-made candy...I promised them candy for Monday (we don't meet on Tuesdays)!

How will you be celebrating Valentine's Day?

Saturday, December 24, 2011

12 days: wrapping up

Days...9, 10, 11, 12? Where did they go? I think I realized they were lost around the same time I found myself running through the Memphis airport to catch my connecting flight after my first was over half an hour late, my Christmas plans flashing before my eyes (a slight exaggeration, given Memphis is only a 2 hour drive from my family's house, so worst case scenario if I couldn't get another flight, someone would've picked me up). I made my flight, though (whew), and after that, I decided to slow down a little, and not worry so much about anything stressful, such as keeping up with blog posts (even though I love writing this blog, of course!).

I'm sorry I wasn't able to keep up with all the 12 Days of Christmas posts. Sometimes I want more structure here when clearly I'm not so great at sticking to a blogging schedule. Maybe my plan, instead of trying to follow a plan more, should simply be to fly by the seat of my pants. I'm pretty sure I don't do that as often as I should.

After all...I've had a great holiday. That was my goal when I decided to do a 12 Days of Christmas series, so...failure? What failure? Mission accomplished! Merry Christmas & Happy Holidays, One Lonely Apricot readers! And now, for a little more Christmas cheer...

Ugly sweater t-shirt photos with Corey, sans tripod (that's why you can't really see the shirts, which is what we wanted to show off, oops!).

I decorated these papier mache ornaments to give as gifts! (A DIY project? Why, yes, I believe it must be!)

I added two Christmas coffee mugs to my collection and had a cup of cinnamon coffee in one the day before I left Ohio! (Notice my poinsettia in the background, and my awesome vintage tablecloth!)

Cooked an early Christmas dinner with Corey, featuring green beans, mashed potatoes and gravy, pineapple, and veggie "meat." Plus, leftover birthday cake for dessert!

I tried fruitcake again. The first time I had it was in my college cafeteria, and I haaaated it. I could only be convinced to try a piece this small...and I can't say I liked it the second time either! But, it was better than the cafeteria variety, I'll give it that.

Wrapped presents with my brother...I am a TERRIBLE present wrapper! I decided that next year I'm going to get/decorate some really cute gift bags and skip the paper. Seriously.

Wrapping in action.

And I baked about 6-7 dozen more Christmas cookies once I got here! This batch is no-bake chocolate-oatmeal-peanut butter, my brother's favorite.

Merry Christmas!

Saturday, December 17, 2011

12 days: turn twenty-five years old

Dear readers, my apologies for being a little behind on my 12 Days posts, especially *ahem* the DIY ones! They are in the works, but not quite finished. I supposed the holidays are busy in their own way. I have every intention of publishing all 12 of the days here, so don't worry.

Today is my birthday. I decided to include this post in my 12 Days of Christmas because my birthday and Christmas have always been intertwined. I have never minded receiving birthday presents wrapped in Christmas paper, and I even decorated the birthday cake I baked today with Christmas sprinkles.

Yep, I baked my own birthday cake. Because I wanted to. And, let me just say, it tastes delicious! I used this recipe for vegan vanilla cake and I made vegan chocolate buttercream frosting.

Let me share a few of my past birthdays with you. A few years ago, I turned five:

For as long as I can remember, my parents have been telling stories that start with the phrase, "Twenty years ago..." Only a couple of years ago I started having my own, "Twenty years ago..." moments, and of course, with every year, I have many more memories that occurred that long ago. It's hard for me to believe, but this picture of me with my Little Mermaid cake was taken twenty years ago.

We'll fastforward a little bit. I was going to show you a picture of me on my birthday from every year in my 20s so far, but the year I turned 20 was only available on an external hard drive and I didn't feel like pulling it out, so we'll start with twenty-one. I feel the need to comment on what I looked like each year, since these photos make a neat little timeline. Year 21: my hair looked awesome, and I practically lived in that gray sweater, which I had to retire last year after I spilled fix on it (a photo chemical that turns clothes brown). Check out my "art cake" too!

Twenty-two. That tablecloth is a winter staple in my family's house (I really like it). Different gray sweater (I really like gray).

Twenty-three. Photo adventure with Corey. I wanted to do that today but it was snowing and I am a wimp when it comes to the cold! I love this outfit and sometimes still wear it.

Twenty-four. First trip to our favorite restaurant in Columbus (the one we did the beer tasting at this week). This was a couple of days before my actual birthday.

And twenty-five. I got a replacement gray sweater. (Did you notice how I'm wearing a cardigan in every picture? In 24, I'm pretty sure I was wearing one under that coat.) Also check out my awesome bee earrings, a birthday present from Corey. These are my favorite glasses that I've had too.

So now I'm 25. It kind of feels like the perfect age. It's not too young-sounding, or too old-sounding, but the perfect in between. I'm looking forward to all the good things that this year will bring.

p.s. Only 2 days left to enter the giveaway!!!

Thursday, December 15, 2011

12 days: thank you card preparations (and a giveaway!)

DIY Christmas posts will be starting tomorrow! Stay tuned! Day 6 of my 12 Days of Christmas did involve making something, though: thank you card designs. I love writing thank you cards the day after Christmas. Since my birthday is only one week before (coming up on Saturday!) I write them to anyone who gave me a Christmas and/or birthday present at the same time. I always feel like I need to hurry up and write the birthday ones by the day after Christmas, plus I just really like sending cards.

I had a fun time drawing these. I love scallops so naturally I put them on everything. I have also been practicing my banner drawing skills lately. I decided on colors that seem sort-of Christmas-y when you see them the day after Christmas, but that won't seem Christmas-y should I have leftover cards to use at other times during the year (smart, right? I know). They are adorably tiny just like my Christmas postcards, 3.5"x5", so they can be sent with a postcard stamp.

I will be selling a few sets of these through the One Lonely Apricot shop (in sets of 8 and 4)! I ordered a limited number of extras from my printer so act fast if you are interested. Also! I am giving one One Lonely Apricot blog reader a chance to win a set of 8!

This giveaway will end on Monday, December 19, at noon! The winner will receive them in the mail a few days after Christmas. To enter, you must be a follower of this blog. Simply leave a comment answering the question:

What are your favorite types of cards to write/send?

*Deadline extended! Friday, December 23 at noon! Enter!!!!*

12 days: winter beer tasting

Tuesday was Day 5 of my 12 Days of Christmas. Corey and I and a few of our friends went to a Christmas & winter beer tasting at our favorite bar, which happens to exclusively serve vegan food. Being a vegetarian, I love going to restaurants where I can eat anything on the menu! That is because at most other restaurants, I can eat 1-2 things on the menu. Big difference.

I took all of these pictures with Corey's phone, by the way.

A few days before, they had a Festivus celebration, and the decor was left up from that. We are big Seinfeld fans, so of course we were amused. That's a life-sized cutout of Frank Costanza, by the way, with an aluminum pole beside him. There was also a bulletin board where people could post their grievances.

Technically, I didn't do the beer tasting. They have a beer tasting every single Tuesday (the theme varies) but normally you taste 4-5 beers. For this one, it was 12! I decided to pass. I tasted most of Corey's, though, so I still participated.

Each table had a list of the 12 beers with descriptions. Since moving here, I have learned a lot about different types of beer, because there is just a wider variety available here. It's actually a really interesting topic to me, and I am impressed by my own knowledge of it since I used to know next to nothing! Now I would like to learn more about wine.

Corey was talking very animatedly to our friends so I couldn't get a good picture of him!

This one was a chocolate cherry beer. It tasted like a cherry cordial! Corey did not like it, so he gave it to me. I thought it was good, but I don't know if I could drink an entire glass of it.

We had a lot of fun! Stay tuned for Days 6-12 of my 12 Days of Christmas! I will be posting some DIY tutorials.

Tuesday, December 13, 2011

12 days: adopt a christmas kitty

Corey told me over and over, all he wanted for Christmas was a cat. So yesterday, we went to our local Humane Society and adopted this little girl. She's 8 months old and at the shelter, went by the name of Frosty. We want to rename her but haven't decided on a new name yet.

Overall it was a really great experience and very different than I thought it would be. I had never been to an animal shelter before, so I didn't quite know what to expect. A few of the animals looked a little sad, but most of them seemed cheerful and all were well taken care of. There were lots of volunteers circulating, playing with the animals and answering our questions.

She even likes her red bow tie. I got this just so that we could take a Christmas picture. I thought it would be fun if Corey and I dressed in Christmas colors and the cat wore a red satin bow tie. (We haven't taken the picture yet, but we will!) I put it on her and she seemed to like it, to my surprise. I thought it would be a struggle just to keep it on for a photo! I got the bow tie collar from Parkside Designs via Etsy! Lots of cute handmade stuff, check it out.

Tonight's 12 Days of Christmas activity...dinner with friends and a winter beer tasting!

Sunday, December 11, 2011

12 days: christmas tv episodes

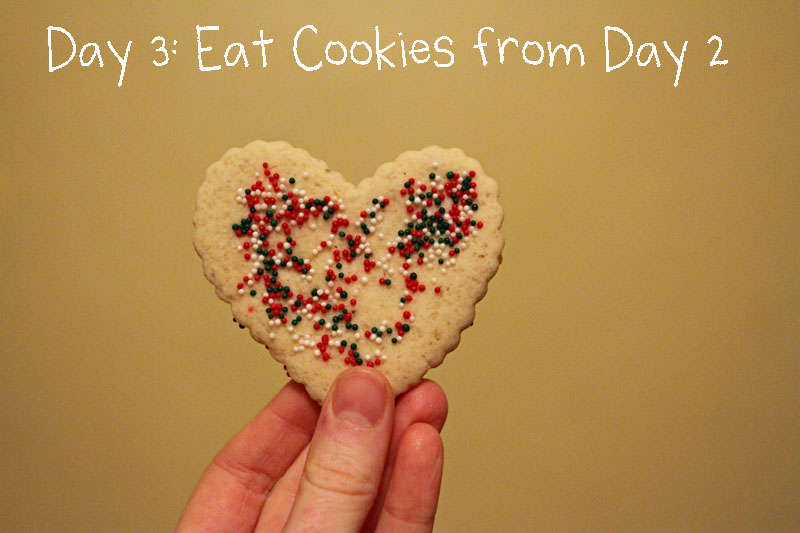
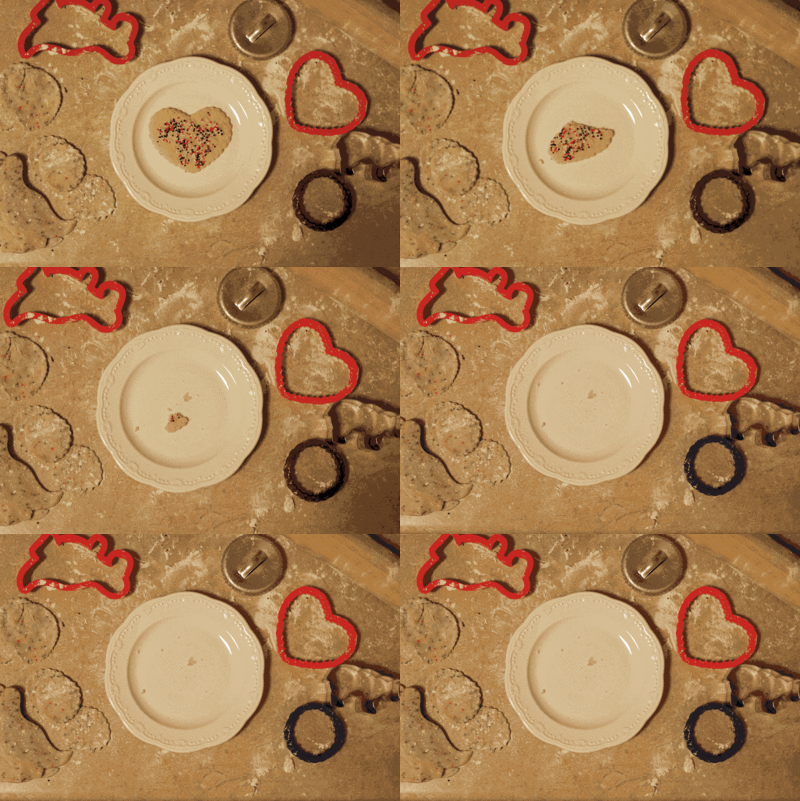
The Christmas task for Day 3 should have been eating the cookies I baked on Day 2. haha! Okay, but actually, it didn't require much more effort than that. If you thought all of my 12 days of Christmas were going to be amazing DIY projects, I hope this doesn't sound totally lazy: today I relaxed and watched a few Christmas episodes from shows I really like (while eating cookies).

First up was this week's episode of The Office. In my opinion it hasn't been as funny lately (actually, it hasn't been as funny since Jim and Pam got married....) but I was laughing out loud a lot during this year's Christmas episode, so maybe things are looking up.

The mood hasn't hit me to watch a Christmas movie yet, but that's on the agenda for this week. Some of my favorites are The Grinch (the Jim Carrey version), Elf, Home Alone, and The Santa Clause. What movie would you recommend?

p.s. I made this for you, dear readers:

12 days: writing christmas cards & baking sugar cookies

Welcome to my 12 days of Christmas series! Here's the scoop: Friday was my last official day of school for the quarter, and on the 21st I'll travel to be with my family for Christmas. There are 12 days in between, so I've decided to do at least one Christmas-y thing each day! Finding that "Christmas spirit" everyone talks about takes a little conscious effort...so here we go.

Pre-12-days activity: decorations! Read all about my decorations here in my guest post on Desirous of Everything. I have since added a few more items. My decor is nothing very fancy or expensive, but I love seeing it every day.

Day 1: The first day was Friday. Originally I wasn't supposed to have to go into school that day, but I ended up having a meeting. I finished writing/addressing my Christmas cards while waiting for my meeting to start (unfortunately I did not have a camera at school with me! oops!).

Day 2: Baking Christmas cookies! I am a really serious cookie baker, you guys. I love baking new types of cookies as well as constantly trying to perfect my secret chocolate chip cookie recipe. For these sugar cookie cut-outs, I used this recipe from Allrecipes (it has 4.5 stars and an astounding 4,600 reviews, wow!). I only make vegan baked goods, so to make these vegan I simply used vegan butter and flax and water for eggs (1 Tbsp. ground flax + 1/4 c water = 1 egg). You can just barely see the flax, but since I used sprinkles, it is not noticeable. You can't taste it, if you're wondering. I used the handy Allrecipes tool to scale down the recipe from 60 cookies to 30.

A few tips for rolling out dough: First of all, it is easiest if you are willing to just do it on your countertop and clean it afterward. This is because the countertop stays in place. I hate rolling out dough on something that is sliding around. Second, put flour down on the counter, as well as on top of your ball of dough before rolling it. You don't want it sticking to your surface or your rolling pin. Third, invest in a rolling pin! Seriously! Fourth, divide up your dough into small balls and keep all except the one you are working with in the fridge or even freezer (I put mine in the freezer since I rolled out all the cookies over the span of about one hour). When the dough gets warmer, it becomes sticky and hard to work with. I roll out each piece, make my cutouts, then collect the scraps and throw them back in the freezer. After working through each big piece of dough, I put all the scraps together and make more cutouts from them.

Corey took a few photos of me with some finished cookies. He didn't want to be in any of the pictures, unfortunately! p.s. New glasses!

I was really excited about my Christmas sprinkles!

I also made chocolate icing to dip some of them in. I made it using confectioner's sugar (which I made by blending sugar + a little corn starch in my Magic Bullet), water, vanilla, and cocoa powder. It adds a lot to the tiny circle cookies I made!

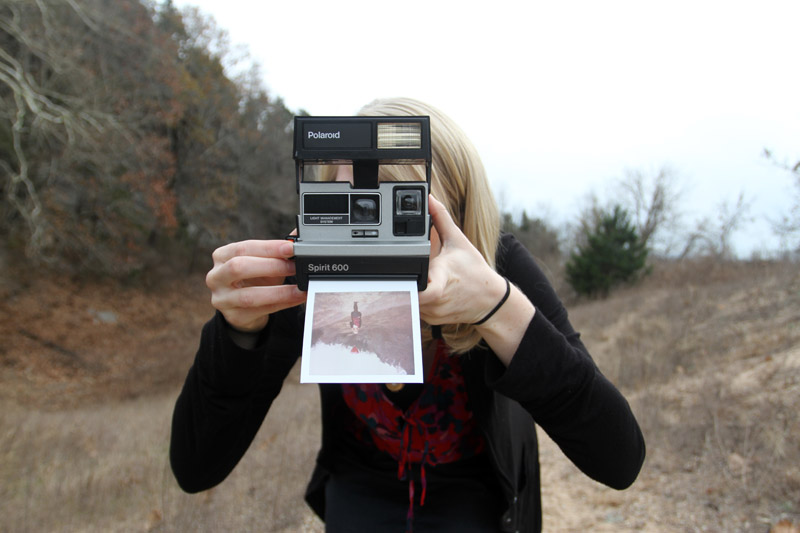
The other shapes I had were dinosaurs, hearts, larger circles, and polar bears. My family has a lot of other shapes but I made do. I think they are pretty great, actually! The other day I saw these nifty camera cookie cutters at my local camera store, but with such a hefty price tag I decided to pass on them (still, adorable).


The dinosaur cookies are probably my favorites. Raaawr!

Bonus: Did some thrifting yesterday as well and scored some awesome cloth Christmas napkins as well as a hand-glazed ceramic Santa from the 1960s. Pictures of my thrift store finds soon!

p.s. Check out this extensive list of holiday cookie recipes from various countries via Food Network. When my sugar cookies are gone I think I'm going to have to make some of these!

What sorts of holiday treats do you buy or make as part of your traditions? Do you have any signature cookie cutters?